DIY campervan conversion – where to start
You get a different feeling when stepping into a campervan that you have built yourself. From the first sketch of the layout to the finishing touches of curtains and lighting, a DIY campervan conversion gives you the freedom to design a space that’s perfectly suited to your lifestyle. But if you are just starting out, the process can feel overwhelming. Here at UK Leisure Parts, we have been helping van owners transform their vehicles for years, and here’s our guide to getting started.
Step 1: plan your layout
Before you pick up a single tool, sit down and plan your layout. Think carefully about how you will use the van – think of things such as:
- Do you want a fixed bed for comfort or a convertible seating area for flexibility?
- Will you prioritise a kitchen, storage, or a bathroom?
- How many people will be sleeping in the van?
It often helps to sketch your design or use masking tape on the van floor to visualise the space. Getting this right at the start will save you time, money, and frustration later down the line.
Step 2: insulation and flooring
A comfortable campervan starts with good insulation. Properly insulating the walls, floor, and ceiling can help regulate temperature, reduce noise, and prevent condensation. Pair this with a durable floor, such as vinyl, laminate, or lightweight plywood to create a practical base for the rest of your build.

Step 3: electrical installation
Electrics can be one of the trickiest parts of a conversion, but it is also one of the most important. You will need to consider:
- Leisure batteries for powering lights and appliances.
- Inverters to convert 12V power into 230V for household devices.
- Solar panels if you plan to spend time off-grid.
- USB and sockets for everyday convenience.
If you are not confident with electrics, it is worth seeking professional help to ensure your system is safe and reliable. At UK Leisure Parts, we supply everything from batteries to inverters to make this step easier.
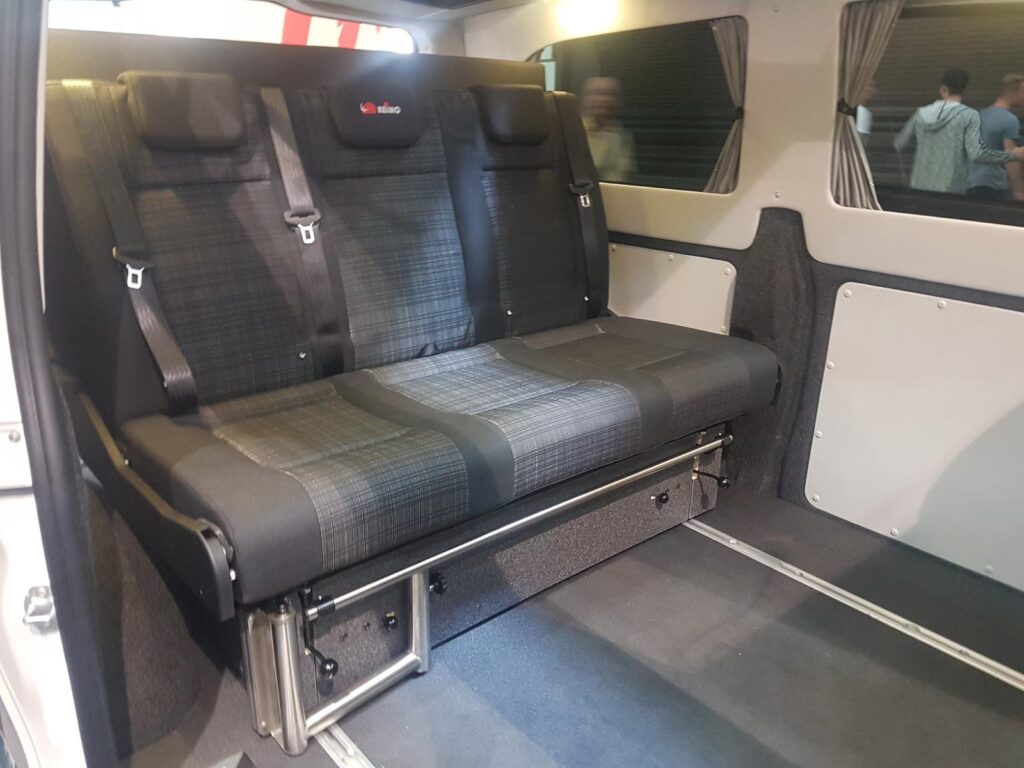
Step 4: furniture and storage
Space is limited in a campervan, so clever storage solutions are essential. Consider overhead cupboards, under-bed drawers, and fold-away tables. Popular options such as Reimo seat systems allow you to combine seating, sleeping, and storage in one.
Step 5: the finishing touches
Once the structure is complete, it is time to make the van your own. Curtains or thermal blinds can provide privacy and help regulate temperature. LED lighting creates a cosy atmosphere. Soft furnishings such as cushions, and personal touches can transform the van from a vehicle into a home on wheels.
A DIY campervan conversion is a big project, but it is also incredibly rewarding. By breaking the process down into manageable steps, you can get the project done a whole lot easier. Here at UK Leisure Parts, we stock a huge range of conversion components, electrical systems, and accessories to help you every step of the way. Whether you are building your first camper or upgrading an existing van, we’ve got the tools and expertise to support your journey. Contact us today for more information.